
Magic Bands Everywhere!
They’re an important part of any Walt Disney World Vacation. You jump for joy when they come in the mail. Once there, they serve as your Room Key. They hold Park Tickets, Fastpasses+, and Photopass Photos. They pay for your Meals with the Disney Dining Plan and you can even use them to pay for Souvenirs (if linked to a Credit Card). It’s amazing what these little magical things can do.
But, what do you do with your Magic Bands after you return?
Don’t just toss them in a drawer…Display them!
Here’s how the magic was made
I didn’t have any plans to work off of. I pretty much ad-libbed my way through this project. That being said, I am still pretty proud of what I was able to accomplish.
This project can easily be customized!
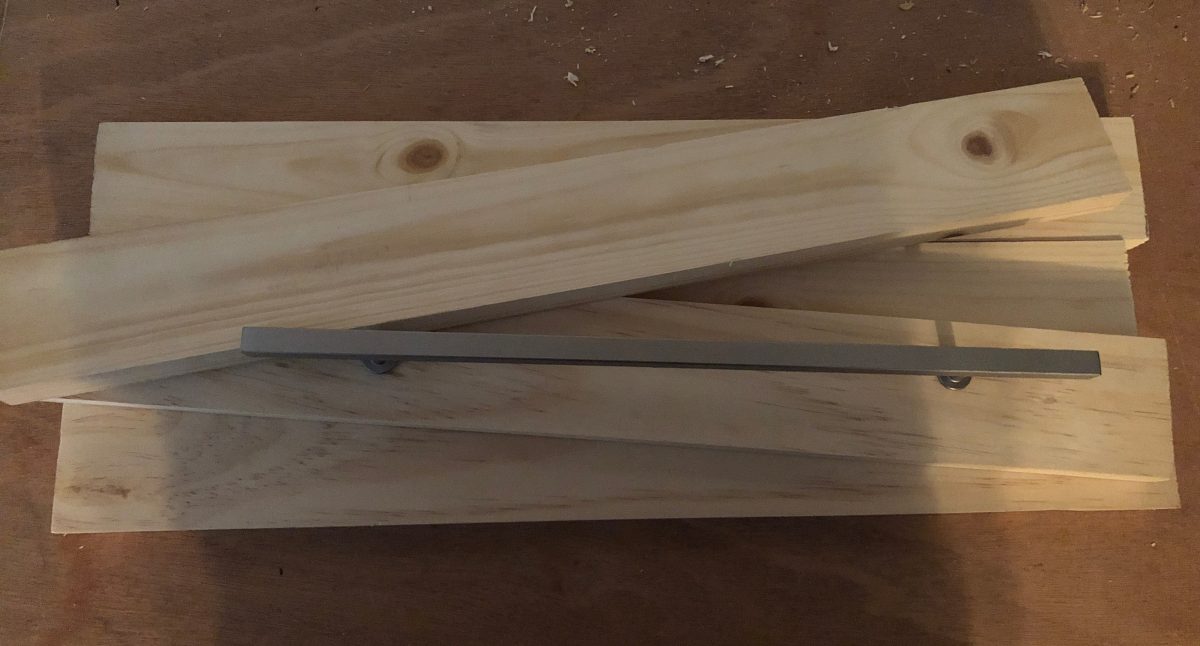
This is where it all began!
-
- I looked for the longest cabinet pull I could find, since we have a lot of MagicBands. The longest I could find at my local Lowes was 16″ long, so that’s what I got.
- I wanted some overhang on each side, so I cut some 1 x 3 boards to 20″ long. If you don’t have a saw, you can have a hardware store cut them down for you. Another great option is to go to a Craft Store, like Hobby Lobby, or Amazon for some faux-panels or real wood that’s already been cut and finished for you.
I am still not very confident in my pocket hole skills, but I try…
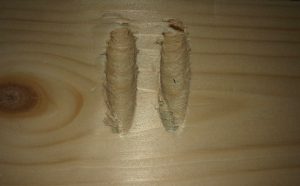
I made some pocket holes using my Kreg Jig to keep my wood tight and secure.
- I also used my brad nailer to nail 2 very slim piece of wood (think the size of a wide ruler) to the back. Not only did it give extra stability to the wood, I knew I was screwing the bar to the wood and I didn’t want the screws scratching my walls.
- The next thing I did was to give the bar a quick once-over with some find grit sandpaper and spray painted it black with a matte finish. I normally wouldn’t spray paint a cabinet pull, but since it will be hanging on the wall and won’t be handled all the time, I took the easy route and just painted it.


Now the fun part!


Briarsmoke is my favorite color at the moment! It’s the third project I’ve used this stain on and each one has come out amazing! I love it!
- Measure everything out and drill a hole for those screws before you . You don’t want to create a design and then find out you you have to drill through it!


Time to take out the Cricut

Before you continue, it’s essential that the kitty approves 🙂
- I considered many different images, but in the end, I went with a silhouette of the Partner’s Statue. I just did a simple google search and chose one that I liked.


")
I used Chalk Paint, in the color Sheepskin for the Partner’s Statue. I have a small bottle and it has lasted me years! A little bit goes a long way with this stuff. It’s amazing!
- If you’ve ever been to a Disney Park, you probably have noticed that little plaque. I used the same method I did with the Partner’s Statue to add the very saying that reminds you that you’re about to step inside a world of Magic.
Here you leave today
and enter the world
of yesterday, tomorrow
and fantasy
- I could have left it at that, but I am a Messy Painter! That’s why I love distressing. When I mess something up, I can at least try to hide it with a little distressing.

Distressing!
Unfortunately, I feel like I should have just left it as it was. I didn’t realize that my pink vinyl (which I only used because I NEVER use pink and I just wanted to get rid of it) left a sticky residue behind when I pulled the template up. So, sanding it just made things worse…UGH! I love the “perfectly imperfect” look of distressing, but not when the gunk gets all smeared up.
I did what I could to clear it up, but I should have quit while I was ahead.

- The final step: Don’t forget to attach your cabinet pull!
Ready to make your own? If you have a Cricut, just fire it up, place your vinyl on your mat, and cut! You can adjust the size if you need to.
Partner Statue Silhouette
Here you leave…


4 Comments
saltandskillet
July 2, 2018 at 3:13 pmThis came out adorable!! I can’t believe you made this, you are so crafty! I would have no idea where to start with staining wood, and I don’t have a cricut….BUT I think I’ll steal this idea and do a Magic Band display at the bottom of a corkboard – I still need to display all my pins somewhere. Next project!!!!
Catherine
July 2, 2018 at 4:15 pmAww. Thanks! A Magic Band display on the bottom of a pin board would look amazing! I’d love to see what you come up with.
MagicBands - What Are They? and other FAQ | Explore With Catherine
January 17, 2021 at 9:32 pm[…] like to display our MagicBands, which is why we opt to get new ones every trip. But, if you don’t want a new one, all you […]
Unique Gifts For The Disney Fan In Your Life - Explore With Catherine
November 29, 2021 at 7:22 pm[…] for something to do with your MagicBands? Turn them into a piece of art to hang on your […]