
Let me start by saying that these are the first iron-on shirts that I have ever made. I’ve had the shirts laid out on my desk and the vinyl sitting next to it for about a month or two. But, I was so afraid of messing up, so I kept putting it off.
However, this Saturday is a big day…a day we’ve been looking forward to since we booked our vacation. It’s the day we get to choose our fastpasses. I figured I better get going on all the things that need to be done before I run out of time.
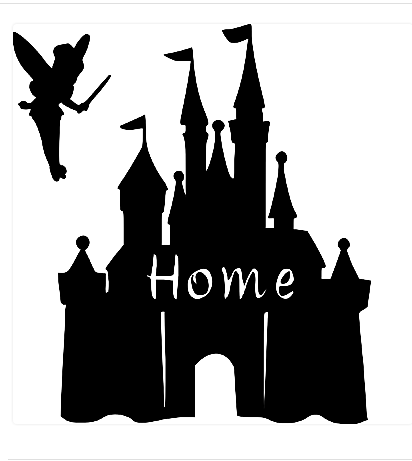
Home
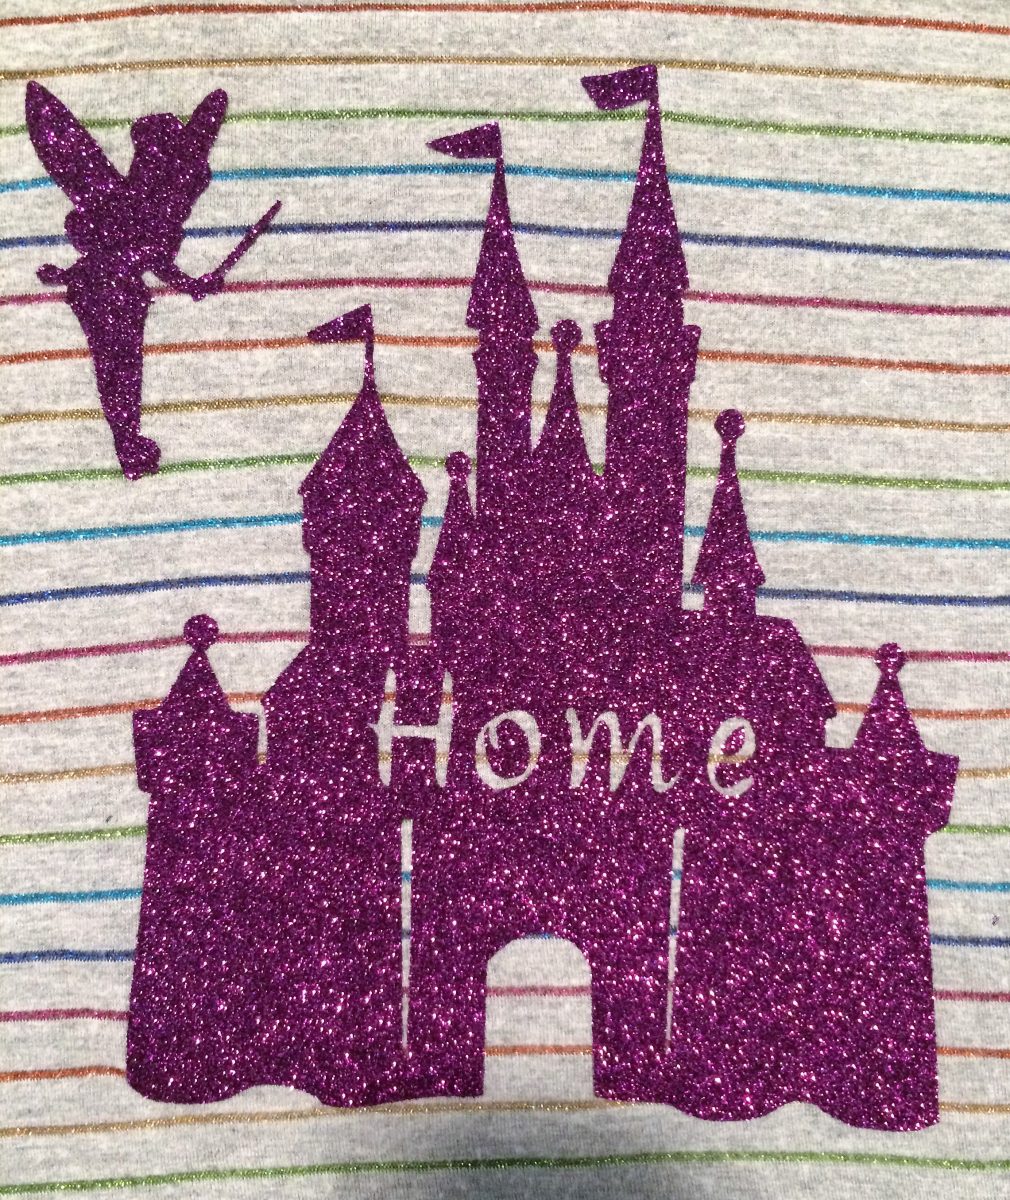
The first shirt I worked on was a design that I’ve been wanting to make for a while now. I found an old tank that matched the Plum Glitter Iron On Vinyl I purchased. I figured that if I messed it up, at least it was on an old shirt and not a brand new one.


I really can’t take credit for this shirt. Pinterest is loaded with shirts of Cinderella’s castle with Tink and HOME written on it. Those Pins gave me the inspiration to make one of my own. I found an image I liked, and uploaded it to my Cricut.
I grabbed my tools as my Cricut cut out my design. Weeding out what I did not need was a little more difficult than I thought it would be. I had a hard time seeing the lines, so I had to make sure that I was somewhere with enough light to see what I was doing and work slowly. While I’m not positive, I believe it has to do with the fact that the vinyl is loaded with glitter.
Cricut’s Iron-on Vinyl was amazing at transferring the Vinyl onto the tank top. I felt like it worked a lot easier and faster than the other brand I used for the next shirt. While both worked wonderfully, I think I prefer Cricut’s Iron-On Vinyl for future projects.
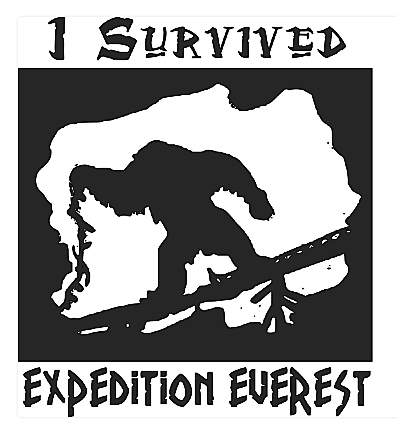
Expedition Everest
My 11 year old is so proud of the fact that he has gone on Expedition Everest. He likes to tell family and friends that he is “brave like Mommy” because he knows how much Mommy loves her Roller Coasters!
So, when I was thinking of ideas for shirts, naturally, Expedition Everest came to mind. Again, I found an image of the Yeti and uploaded it onto my Cricut. I cleaned up the image, trying to get the cleanest lines I could without messing with the image. Once I was happy with my image, I saved it and decided to give it a try.

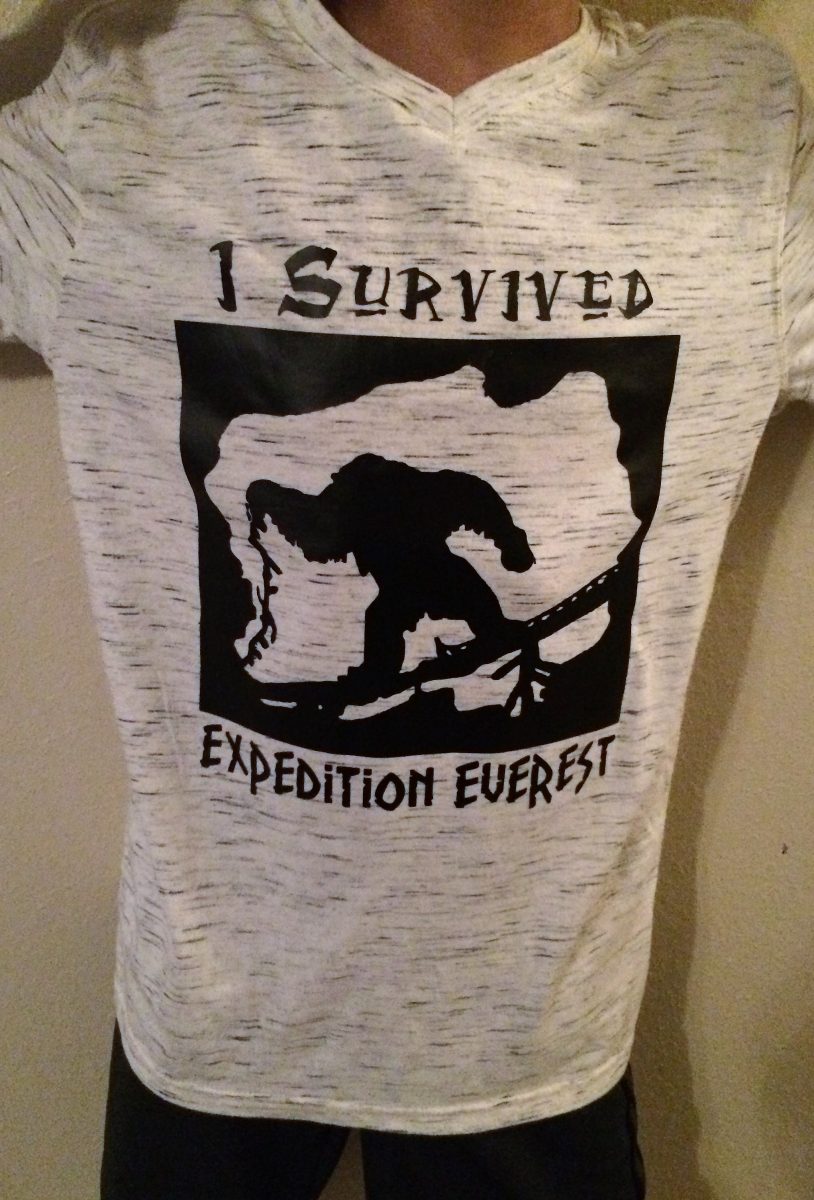
Once we knew what design we wanted to do, we bought this awesome shirt at Target. I earned enough Target Perks points to pick my reward and get this shirt for FREE.
I knew my boys wouldn’t be into glitter, so I used a different Iron-On Vinyl for this shirt. After weeding the glitter Vinyl, I was nervous to work on this shirt because the Yeti is more detailed than my Castle was. But, I was so pleasantly surprised. This Vinyl peeled so beautifully and easily, I had everything done in no time.
While the vinyl I used on this shirt was so much easier to weed out the unwanted pieces, I thought that it took longer to transfer onto the shirt than the Cricut Vinyl. I went over it a few times to be sure that it was all transferred before I finally removed the protective film. I love how it turned out and best of all, so does my son. He had to try it on to see how it felt. It got a thumbs up from him!
There’s still so much to do, but I think I’m off to a good start. My older son has not made up his mind as to what he wants on his shirt, so that is something we are working on. We also are trying to come up with something cool for Mickey’s Not So Scary Halloween Party.
It’s going to be a busy few months! So, Come back to see what we decide!


4 Comments
Losing Weight Is Helping Me Pay For My Vacation | Disney Solution
July 13, 2017 at 8:19 am[…] The benefit? I save 5% when I use my REDcard Debit. And whenever I scan my Cartwheel App at Checkout, I earn points towards my Target Perks. I’ve earned many perks just for purchasing Disney Gift Cards to pay off my trip, including the shirt I used to make my son’s Expedition Everest Shirt. […]
DIY Disney Iron On Shirts: Part 2 – Disney Solution
September 4, 2017 at 3:45 pm[…] do for my oldest. Do we do a classic Disney character? Or how about a favorite ride, like his brother’s shirt? Finally, we realized that the perfect shirt for him was none other than the Sorcerers of the Magic […]
A Recap Of Our Week At Disney World – Disney Solution
September 20, 2017 at 2:08 pm[…] (more to come later on). The food was great and the rides were amazing! My son also made use of his Expedition Everest Shirt! I love having someone else to ride these cRaZy rides […]
Gift Giving Guide: Gifts To Give Someone Going On A Disney Vacation – Disney Solution
November 8, 2017 at 11:57 am[…] Photo Credit: SthrnSweetheartGifts Disney Solution […]