
Halloween is quickly approaching and nothing says Halloween quite like a monster.
But, while the rest of the world is putting up all their scary decorations, Mike and Sully have proven that silly is more fun than scary.
And believe it or not, creating Mike and Sully are super easy to make.
I guess it’s true what they say. You can take the girl out of teaching, but you can’t take the teacher out of the girl.
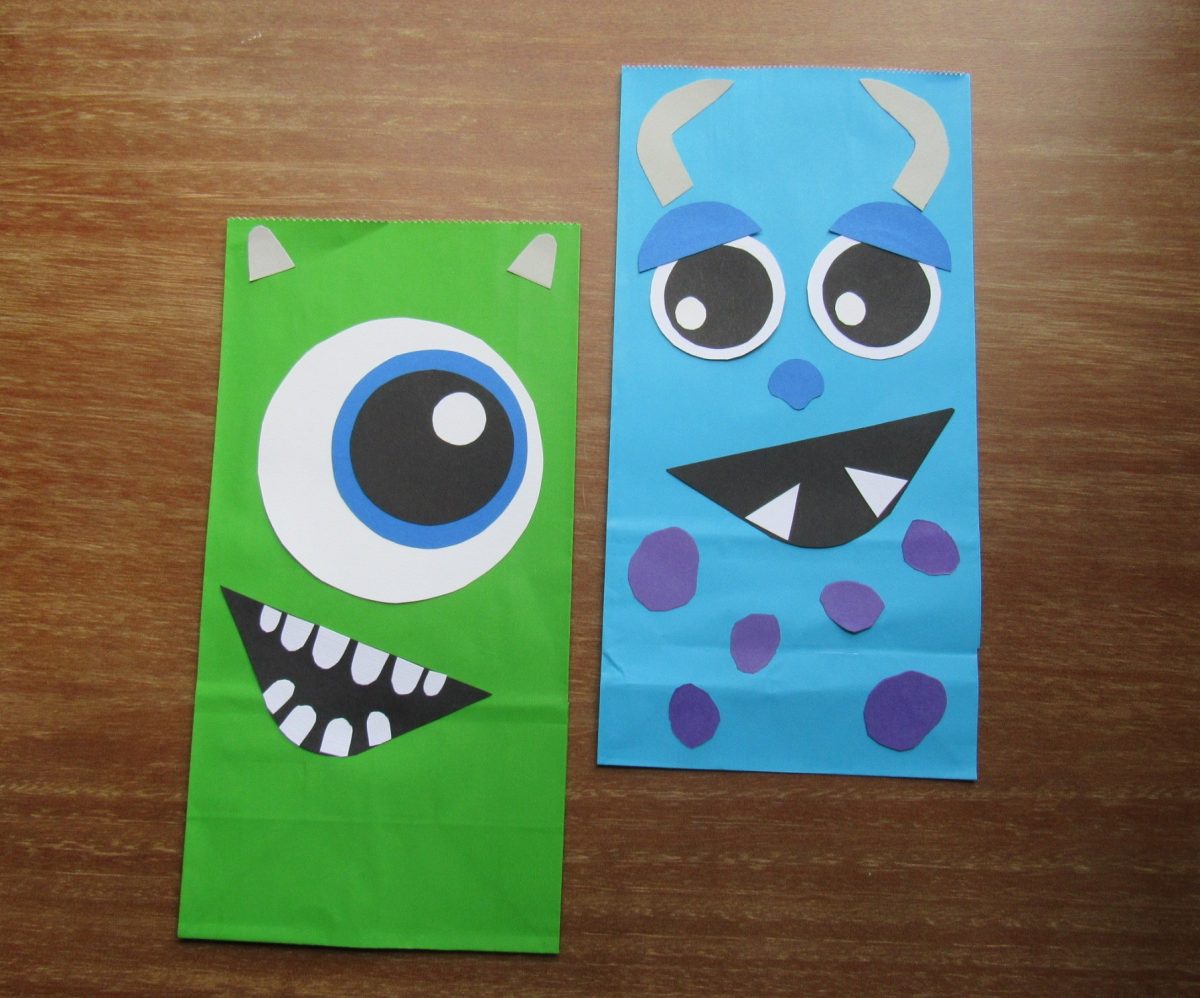
Easy DIY Monsters Inc Themed Treat Bags

Creating a Monster Treat Bag
These bags can be put together quickly and they are surprisingly easy to make. They also don’t scream “Halloween,” so they work for many different occasions.
And because I was able to put them together using circles and triangles, they’re extremely kid-friendly.
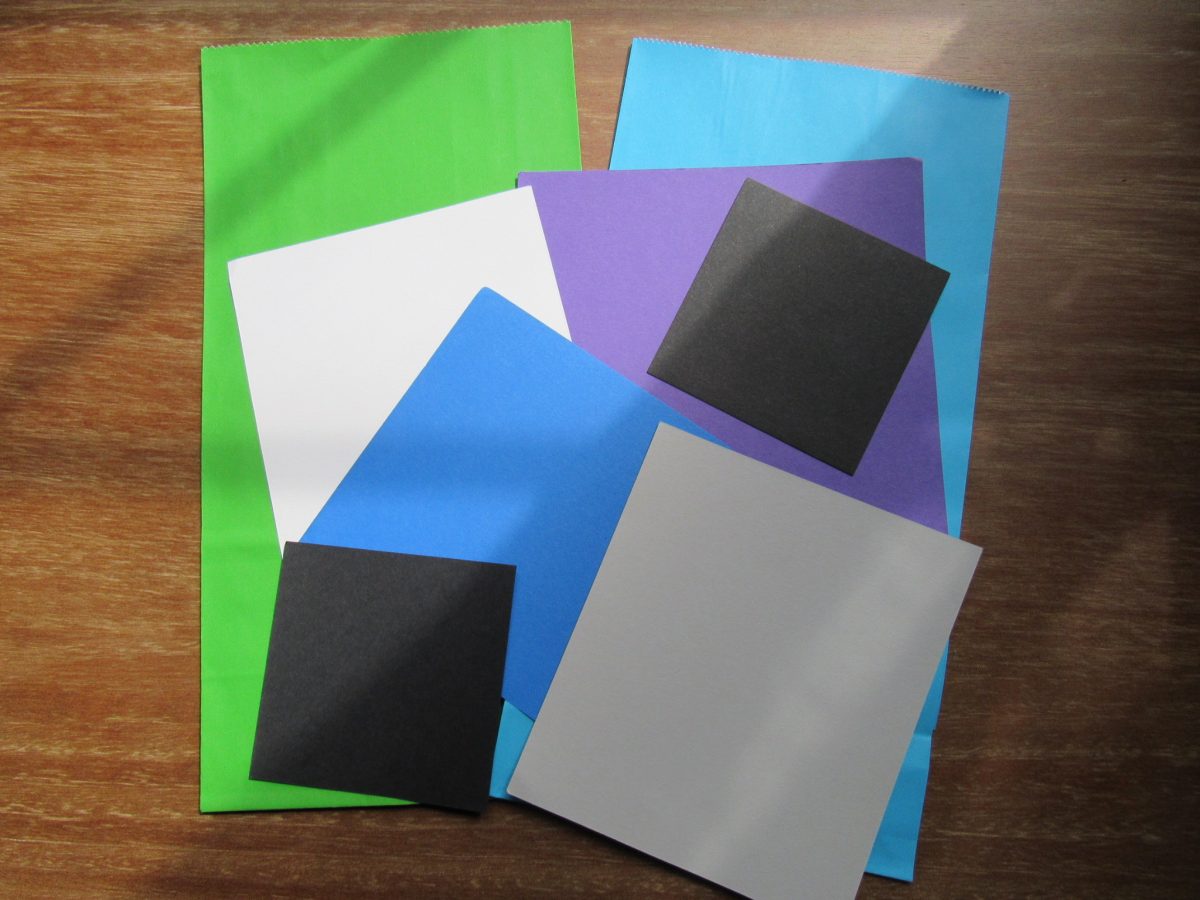
Supplies:
- Blue and Green paper bags
- You can find them many places. I found mine at the grocery store for $.50 a piece
- Cardstock
- Glue Stick
- Scissors
- varying round shapes
- I just used things around my house – pop cans, tape, coaster, glue stick cap…
- Monster-themed Treats
Cutting out your circles and triangles
As I said earlier, these bags are extremely easy to make.
For Mike Wazowski, you will need:
Eye
- 2 white circles – 1 large and 1 small
- 1 blue circle – slightly smaller than the white circle
- 1 black circle – slightly smaller than the blue circle
Mouth
- 1 large black triangle – round the top to resemble a mouth
- many tiny triangles – round the tops to resemble teeth
Horns
- 2 small gray triangles – round the tops to resemble horns

For Sully, you will need:
Eyes
- 2 white circles – 1 medium and 1 tiny
- 1 black circle – slightly smaller than white circle
- 1 blue circle – the same size as white circle and cut in half to use as eyebrows. If they cover too much of the eyes, you can trim them up a little bit. That’s what I did.
Nose
- 1 small blue circle – cut 2 little half-circles at the bottom to resemble a nose
Mouth
- 1 large black triangle – round the top to resemble a mouth
- 2 small white triangles
Horns
- 1 large gray circle – draw a horn on one side of the circle. Fold the circle in half and cut. You will have 2 horns that are mirror images of each other.
Spots
- cut round-ish circles with purple paper.

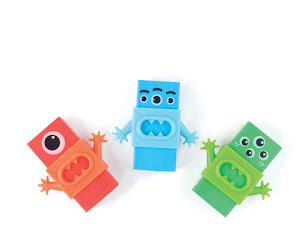
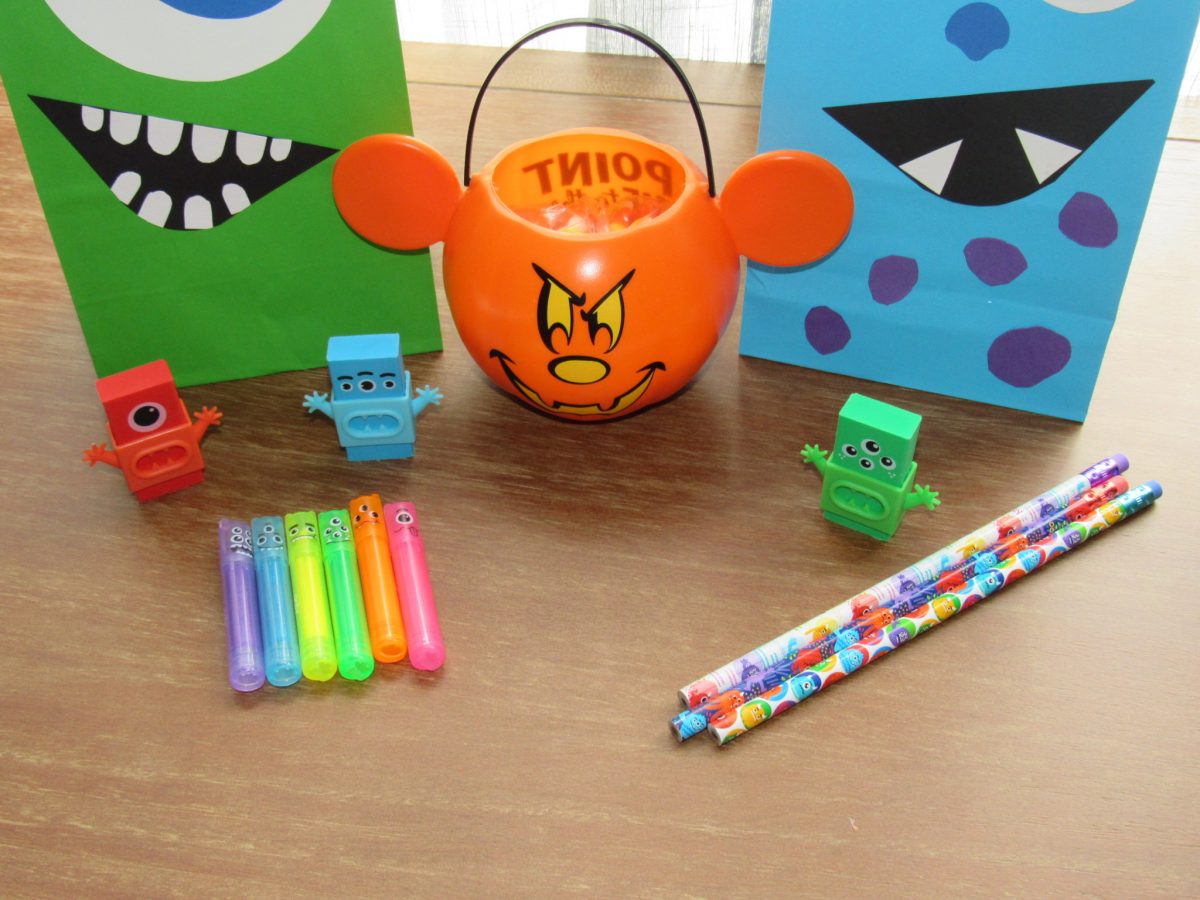
Monster Treats
Now that you have your super cute bags, you’re going to want some monster treats to fill those bags. Luckily, I know just the place.
Ooly
As an educator, there was one thing that always upset me.
Every year, I had a child that was allergic to treats that were being given out during parties. Some would bring their treats home for their mom, dad, or siblings. Others would simply throw their treats out.

That’s why I like these cute little monsters. Every child can have a bag full of treats and no one ever has to feel left out.
And really, that’s all I ever wanted for every child that came in to my classroom.
If you like what you see, make sure you sign up for their emails. You’ll receive a coupon code to get 15% off your first order!

Interested in seeing another Disney DIY? We also made Magnets using Park Maps
Disclaimer: Disney Solution was provided with a free product in return for our honest review. All thoughts and opinions are our own and not influenced by Ooly.


No Comments