
Ever since my boys have been little, whenever we go somewhere fun, they like to take home a map.
But, we never know what to do with them once we get home.
Do we scrapbook them? Do we put them in picture frames alongside photos of the day?
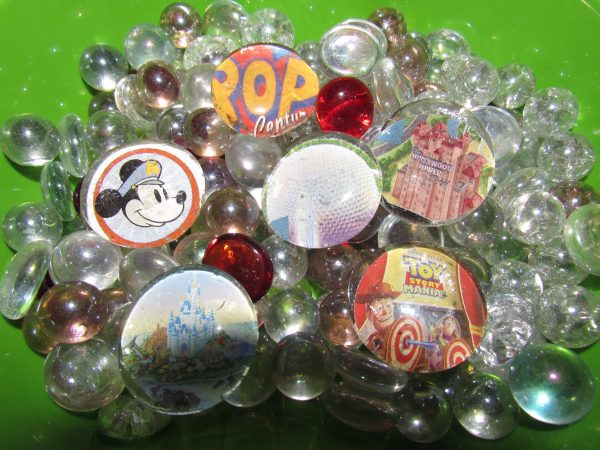
I wanted to do something different! That’s when I decided to make these cute little magnets for our fridge.
DIY Magnets Made From Disney Parks Maps

My son wanted to help me, so he sat down at the kitchen table with all of our Park maps and helped me choose which attractions we were going to use.
They are so easy to put together and they make a great (cheap!) souvenir.
Supplies
- Maps from all 4 parks, MNNSHP, and/or Resort Literature
- Vase Fillers
- Mod Podge
- Strong Glue – I love the Elmer’s Ultra Stix All, but there are many good ones out there. E6000 and Gorilla Glue are also really good.
- Paintbrush
- Circle Squeeze Punch – not necessary, but it does make the project go faster
- Magnets – I look for the strongest little ones I can find.
Putting it all together
Once you gather all of your supplies, just follow these simple steps and you have yourself an inexpensive souvenir (and quality time with your kids, if they want to help 🙂 ).
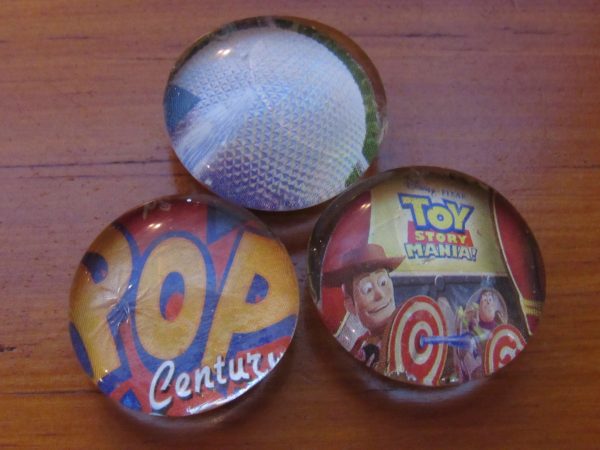
- Open your maps and decide which attractions you want to use. We chose ones that meant the most to us—rides we went on, Resort we stayed at, restaurants we ate at, etc…
- I used my squeeze punch to cut out the attractions. If you don’t have one, you can use one of the fillers to trace a circle and cut it out with scissors.
- Take your paintbrush and paint some Mod Podge to the back of the glass filler and place one of your photo circles on top.
- Paint another thin layer of Mod Podge to the back of the picture and wait for it to dry.
- Put a dab of glue on the back of the magnet and attach to the vase filler.
- Place the magnets on our fridge.
All in all, it only took us about 1 1/2 hrs to make a whole bunch of magnets. Most of that time was waiting for either the Mod Podge or the Super Glue to dry.


No Comments